
How to carve your pumpkin like a pro
Feeling a little inadequate when it comes to your pumpkin-carving skills? Well, this could be the Halloween you turn heads with that jack-o-lantern on your front porch.
We have expert advice from a pumpkin-carving pro to make your orange orb the envy of the neighbourhood.
October is a time when multimedia artist Margi Laurin turns her attention from digital art, calligraphy and painting to pumpkins. The Morrisburg, Ont., resident has spent more than a decade refining her carving skills to create jack-o-lanterns like you've never seen before.
We asked her to come up with a list of tips and tricks to take you from pumpkin zero to hero in no time.
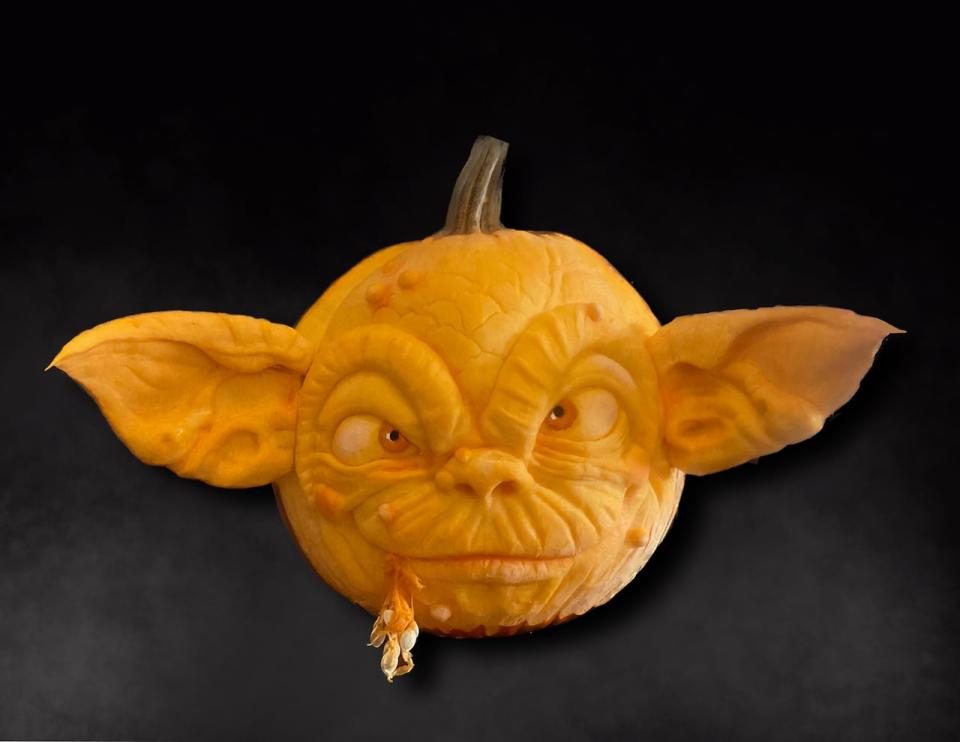
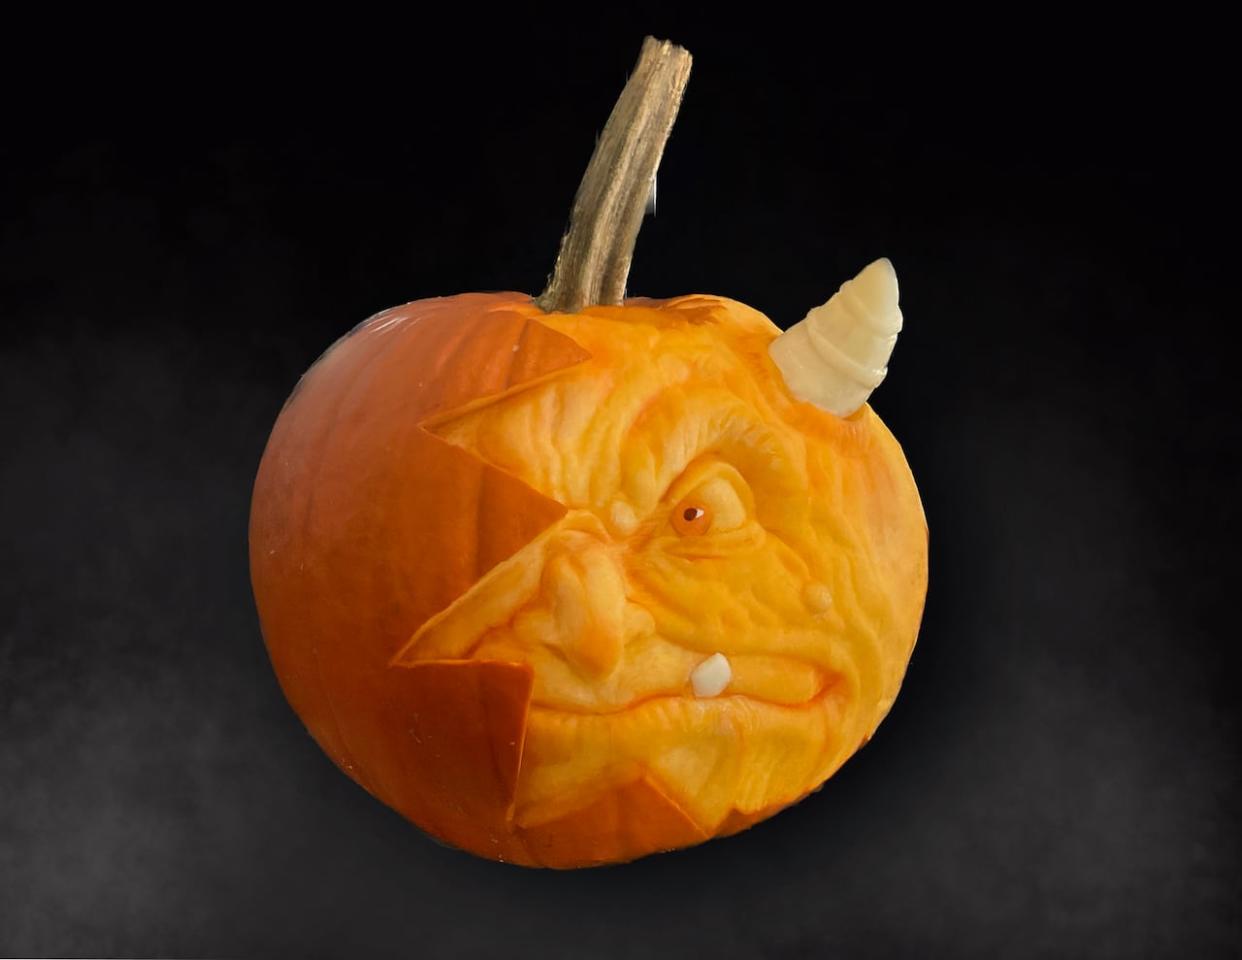
Margi Laurin uses her imagination to come up with spooky, yet cute, pumpkin carvings. (Margi Laurin)
Improve your tool game
Rather than going for the orange-handled dollar store carving knives, opt instead for art store "loop" tools used for clay, polymer and other sculpting media, said Laurin.
The smaller the loop, the finer the detail. Some other useful materials include: a woodworking knife or box cutter to cut right through the pumpkin and petroleum jelly (Vaseline) to give the surface some shine and to lock in moisture.
Vaseline gives it a nice finish after smoothing but Laurin also sprays the pumpkin with lemon juice or vinegar to help with preservation. Laurin recommends Krazy glue for attaching small pieces (warts) and skewers for large pieces (ears).
Have a plan
It's tricky to apply a pattern as you can't draw on a wet pumpkin. Laurin uses a reference drawing and pinpoints the centre of the image (in faces it's often the tip of the nose or between the eyes) on the pumpkin.
This is a good place to start. You can use an awl or skewer to lightly mark or scrape out the design, being careful not to poke holes in the higher points (such as the tip of the nose) because they can't be removed.
Get to the meat of the matter
Instead of cutting through the entire pumpkin to make those traditional eye, nose and mouth holes, peel through the orange skin and use the softer "flesh" as your sculpting clay.
You can use a plastic kitchen scouring pad to add texture and to scuff or smooth the surface. Thicker flesh gives you more freedom to play with depth and contours.
Watch the weather
If the forecast calls for cold weather you can carve your pumpkin up to a week in advance, but warmer temperatures will cause the exterior to deteriorate.
Lemon juice or vinegar spray can help slow things down (and possibly deter hungry squirrels).
Get the right gourd
Aside from finding the size and shape of pumpkin you want, try to buy a pumpkin with a thick stem. That means the flesh will be thick and will give you more material to work with.
That helps when it comes to getting definition in the face. Also, try to find a fresh pumpkin you cut yourself or a pumpkin from a local farmer.
Laurin says your pumpkin should have the consistency of an apple when you slice into it, as opposed to something that is too stringy and soft.
Watch a video or 2
Here is a demonstration video that illustrates Laurin's tools and technique:
You can find many of Laurin's sculpted pumpkins at the Pumpkins After Dark display at Wesley Clover Parks off the Queensway in Nepean. It runs until Oct. 31.

