
How to Fold a Galette So It's Rustic But Not TOO Rustic
This article is part of the Basically Guide to Better Baking, a 10-week, 10-recipe series designed to help you become a cooler, smarter, more confident baker.
You know how there’s a difference between “dirty” and “messy” (...or so claimed my college roommates)? Well there’s also a difference between “rustic” and “crude.” Maybe you’d be able to guess where my galettes usually fit in? Always slightly misshapen and bulged, they’re the same shape a three-year-old might draw when attempting a circle.
But there’s an easy trick for making galettes that look neat and tidy (though still easy-going and low-key, of course), no matter how amoeba-like your dough appeared when you first rolled it out. And that’s simply to make slits along the border at even intervals before you start folding. Pile your filling into the middle, then use a knife to slice from the border of the dough to the border of the filling. (Make sure you’re working on a sheet of parchment paper at this point so that you can easily transfer the shaped galette to the baking sheet.)
It doesn’t matter whether the slices are straight or slanted—when you fold each one in, they’ll overlap neatly, creating a shingled effect. The result is an even, uniform crust with no gaps or tears. You’ve essentially just crimped your galette, which, in my book, is the treatment it deserves.
And no one will mistake your galette for a three-year-old’s.
Get the recipe:
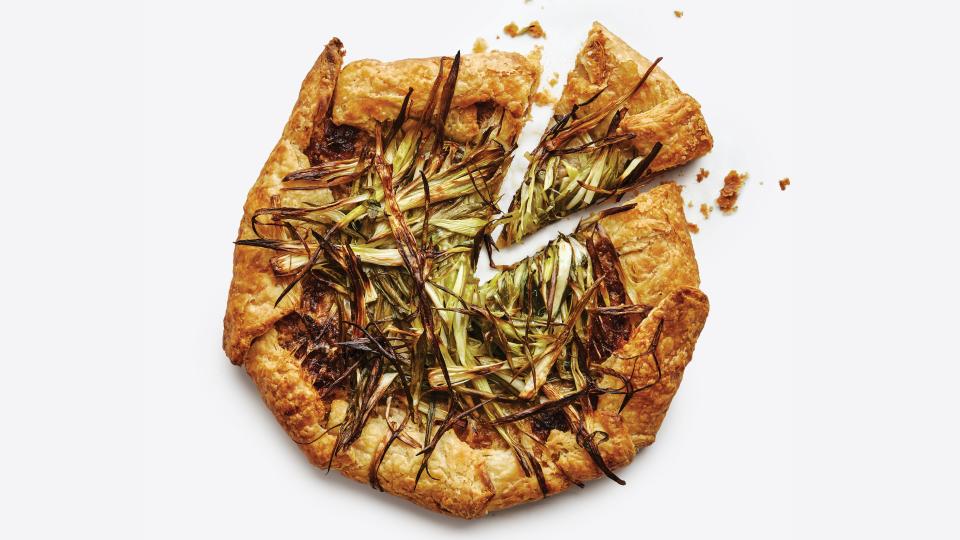
Triple-Threat Onion Galette
Originally Appeared on Bon Appétit

